
Learning how to look more attractive in photos is rarely about altering your features or possessing born-with-it supermodel genetics. Most people who consider themselves "unphotogenic" are simply reacting to how camera sensors, glass lenses, and static lighting interact with three-dimensional human faces. When a camera captures your image, it compresses physical depth, freezes dynamic expressions, and renders ambient light in ways human eyes never do in real life.
If you have ever caught a glimpse of yourself in a mirror and felt confident, only to look at a snapshot taken moments later and wondered why do I look bad in photos, you are experiencing optical mechanics rather than a sudden drop in personal appeal. A mirror gives you a moving, three-dimensional reflection rendered through stereoscopic vision. A camera records a single flat frame, often distorted by lens geometry, focal length, and uneven light sources.

The good news is that photographic appeal is a physical skill set rather than a genetic coin toss. By making subtle, intentional adjustments to lighting direction, camera distance, head placement, and facial muscle relaxation, you can bridge the gap between how you look in person and how you appear on screen.
Why the Camera Changes Your Face
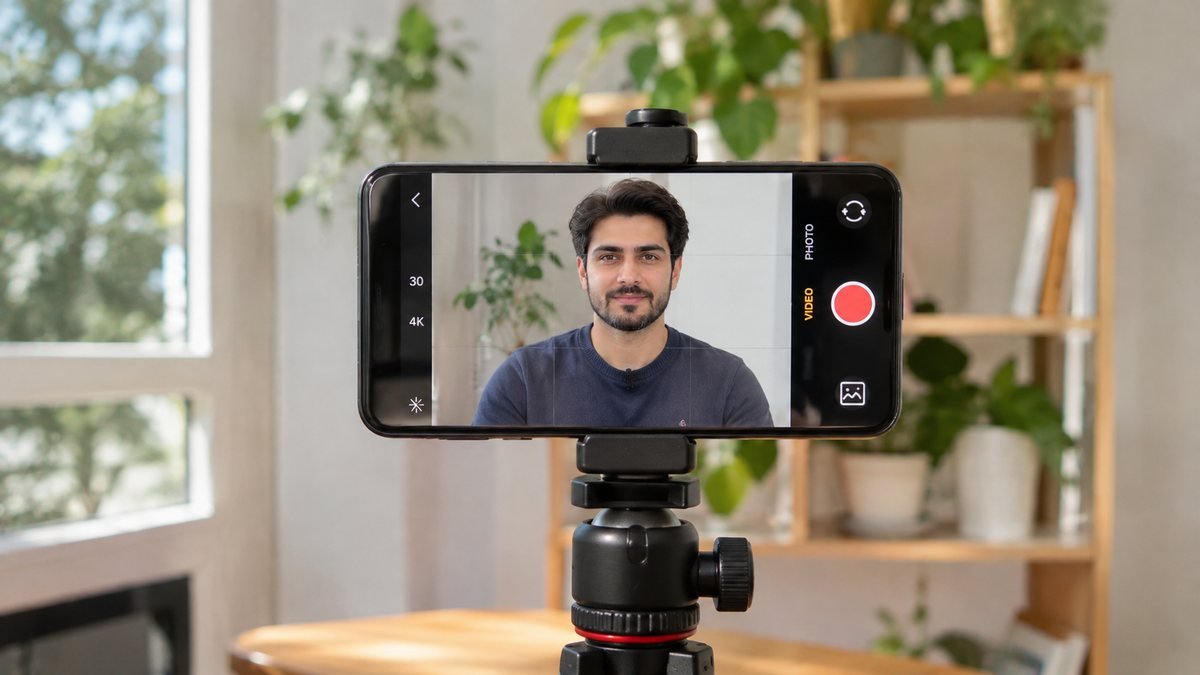
To master the art of portraiture, you must first understand the mechanical reasons why a camera alters your appearance. A camera does not act as an impartial mirror; it relies on optics and digital processing that fundamentally alter visual proportions.
Lens Distance and Perspective Distortion
When photos are taken from close range—such as an arm’s-length selfie—the camera lens sits mere inches from your nose. Wide-angle lenses, which are standard on most smartphone front cameras, stretch objects closest to the center while compressing the edges of the frame. This makes the nose, forehead, and chin appear disproportionately large while pulling the ears and cheekbones back. Stepping away from the camera instantly corrects this optical warp.
2D Flattening
Human vision relies on two eyes to perceive depth, shadow gradation, and spatial distance. A camera lens captures the world through a single lens, collapsing three dimensions into two. Features that rely on subtle depth for definition—such as cheekbones, jawlines, and brow arches—lose their natural contour unless explicit lighting and angles create fake or natural contrast.
Frozen Micro-Expressions
In daily life, your face is constantly moving. Smirks, eye twitches, squints, and laughs transition fluidly, and people process your face as a whole motion. A shutter speed of 1/250th of a second isolates a single, micro-moment. If the camera fires while your facial muscles are transitioning between expressions, the snapshot can look stiff, startled, or unapproachable.
Lighting Artifacts
Human eyes automatically adjust for extreme variations in bright sun and dark shadow. Camera sensors do not have this dynamic range. Overhead ceiling bulbs cast deep shadows beneath the eyes, nose, and chin, creating dark eye circles and emphasizing skin texture. Direct sunlight causes squints and harsh highlights that wash out soft features.
Light First: The 3 Setups That Flatter Almost Everyone
Lighting is the single most critical factor in photo quality. Good lighting soft-focuses skin texture, defines bone structure, and creates natural highlights inside the eyes. If you want to learn how to look good in photos, mastering your light source is step one.
1. Facing a Large Window (Soft Front Light)
Position yourself directly facing a window, with the light falling smoothly across your entire face. Diffused daylight—such as light passing through a sheer curtain or coming from an overcast sky—acts as a massive natural softbox. It fills in fine lines, softens dark under-eye circles, and creates bright reflections (catchlights) in your pupils, making your eyes look luminous and awake.
- Key execution: Ensure the window is directly in front of you or turned at a slight 15-degree angle. Never stand with the window behind you unless you want a dark silhouette.
2. Golden Hour Light
The hour right after sunrise and the hour right before sunset offer the warmest, softest natural light of the day. Because the sun is low on the horizon, the light travels through more of the atmosphere, scattering harsh blue rays and creating a warm, golden glow.
- Key execution: Stand so the low sun strikes your face at a subtle side angle. The horizontal rays cast gentle, long shadows that define cheekbones without creating heavy eye sockets.
3. Open Shade on Bright, Sunny Days
Direct noon sunlight is the enemy of great portraits. Instead of standing in harsh daylight, step into open shade—under a porch overhang, beneath a dense tree canopy, or in the shadow of a tall building. Open shade provides cool, even ambient illumination that removes harsh glares and stops you from squinting.
- Key execution: Look toward the open bright sky while remaining physically under the shade boundary to capture soft light across your skin.
Lighting Environments to Avoid
- Overhead Lighting: Recessed ceiling cans or midday sun project light straight down, creating black hollows under your eyes (the "raccoon" effect) and casting sharp nose shadows over your lips.
- Direct On-Camera Flash: Built-in mobile flashes produce a harsh point light that flattens facial features, creates direct skin reflections, and amplifies red-eye effects.
- Uncontrolled Backlighting: Having a bright light source (like a sunny window or lamp) directly behind your head forces the camera sensor to darken your face to balance the exposure.
Angles and Distance
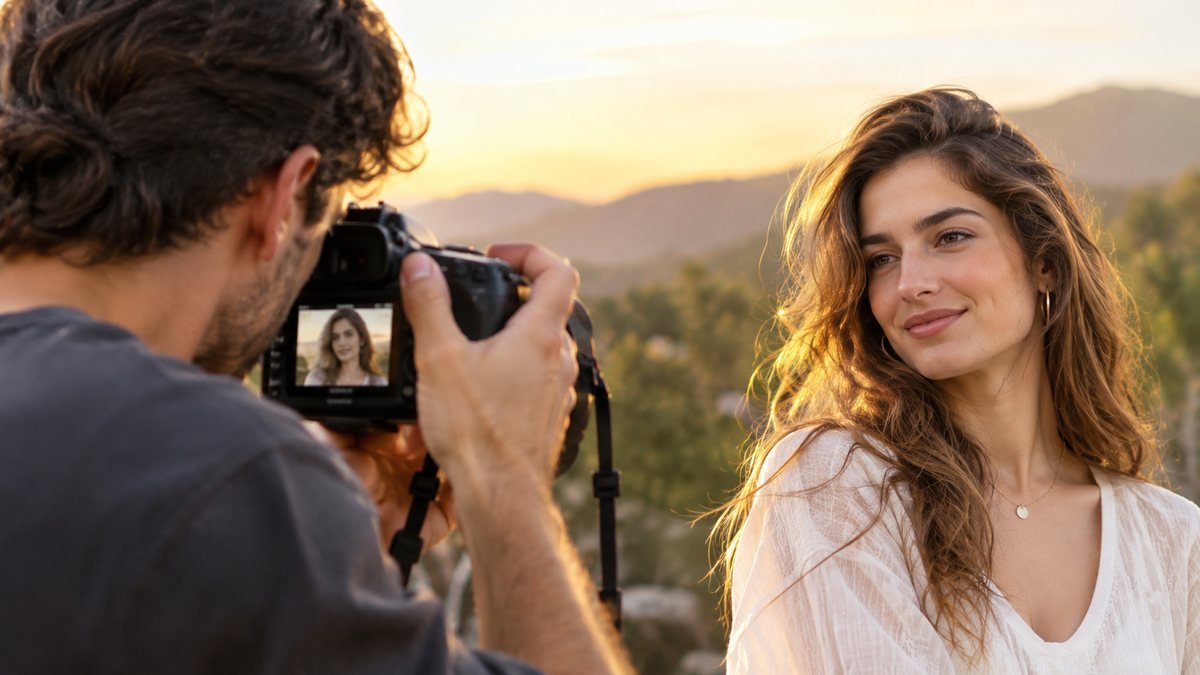
Once your lighting is secured, how you orient your head, body, and camera frame dictates your overall visual geometry. Understanding the best poses for photos face structure relies on creating clean, angled lines rather than flat, square-on alignments.
Step Back and Use 2x Optical Zoom
Avoid taking photos from less than three feet away. To eliminate wide-angle nose distortion, step back 5 to 7 feet from the lens. If you are taking a portrait on a modern smartphone, switch to the 2x or 3x optical telephoto lens instead of the standard 1x wide lens. This focal length compresses facial features naturally, making noses look proportionate and jawlines clean.
Keep the Camera at or Slightly Above Eye Level
Positioning a camera below your chin line projects the camera up toward your nostrils, exaggerating neck skin and making your head look disproportionately small compared to your jaw.
- The ideal position: Hold the camera at eye level or angled down roughly 5 to 10 degrees. This subtle elevation forces your eyes to look slightly upward, opening the eyelids and stretching the neck line naturally.
The "Chin Out and Down" Technique
To remove double chins and define your jaw, perform a subtle motion photographers call "turtling." Push your entire forehead forward toward the camera by an inch, then drop your chin down slightly.
While this movement feels slightly unnatural in person, from the perspective of a flat 2D camera lens, it stretches the skin along the jawline, creates shadow separation between the chin and neck, and hides loose neck folds entirely.
Turn the Body 45 Degrees
Standing dead-square to a camera lens presents your widest physical profile to the viewer. Instead, rotate your shoulders roughly 45 degrees away from the lens, then turn your head back to face the camera directly. This simple twist creates visual depth, slims the silhouette, and gives the portrait a dynamic, engaging energy.
Discover and Test Your Stronger Side
Human faces are naturally asymmetrical. One eye may sit slightly higher, or one side of your mouth may pull further when smiling. Take several test shots turning your face slightly left, then slightly right. Most people find that a three-quarter angle showing slightly more of one side reveals better facial symmetry than facing the lens dead-on.
Expression: The Relaxed-Face Technique
Stiff facial muscles ruin otherwise ideal lighting and angles. When someone shouts "say cheese," people habitually pull back their lips, tense their jaw, and freeze their eyes wide open. This creates a forced grin that signals tension to the viewer.
The Mechanics of a Natural Smile
A genuine smile (known scientifically as a Duchenne smile) involves two muscle groups: the zygomaticus major (which pulls the corners of the mouth up) and the orbicularis oculi (which crinkles the outer corners of the eyes). A fake smile only uses the mouth muscles, leaving the eyes wide and unengaged.
- How to trigger a real smile: Soften your eye muscles slightly. Instead of opening your eyes wider, allow your lower eyelids to elevate slightly—a look often called "smizing."
The Exhale Method
Right before the photographer takes the picture, drop your shoulders away from your ears, take a breath in, and exhale fully through your mouth while relaxing your facial muscles. As you finish the exhale, bring your lips together or let them part slightly. This releases stored tension in the jaw, forehead, and lips.
The Tongue-Behind-Teeth Trick
To prevent a smile from pulling too wide or over-exposing lower teeth, press your tongue gently against the roof of your mouth right behind your upper front teeth while smiling. This action keeps your jaw muscle relaxed, stops neck tendons from straining, and prevents your smile from stretching too far horizontally across your face.
The Reset Technique
If you have been holding a pose for more than five seconds, your expression will turn static. Break the pattern: look down toward the floor, roll your neck once, smile to yourself, and then look back up into the lens right as the shutter clicks. This momentary break resets facial muscle tone, giving the photo a fresh, candid feel.
Mental Association
Your facial muscles react instantly to internal thought patterns. Instead of concentrating on how your face looks, think of a specific joke, an absurd moment, or someone you genuinely love. The micro-muscles around your eyes and mouth will adjust automatically, creating warmth that cannot be faked.
Hair, Glasses, and Colour Near the Face
Small framing details surrounding your head strongly dictate how your face is perceived by the camera lens. Applying these most photogenic tips keeps the focus entirely on your facial features.
Hair Styling and Framing
Flat hair pulled tight against the scalp exaggerates cheek width and head shape. Adding slight volume at the crown or pulling a few loose strands around the jawline breaks up sharp structural edges. If you have long hair, avoid putting all of it behind your shoulders (which makes your head look floating) or draping all of it over both shoulders (which looks heavy). Try putting hair over one shoulder while leaving the other side clean.
Eliminating Glasses Glare
Eyeglass lenses regularly pick up bright reflections from ambient lights, covering your eyes. To clear glare:
- Tilt the arms of your glasses slightly upward off your ears, pitching the lenses downward by a few degrees. This redirects light reflections down away from the camera lens while keeping the frames looking normal on your face.
- Angle your head slightly away from the primary room light source.
Strategic Color Selection Near the Jaw
The clothing colors directly beneath your neck affect skin tone tone and facial structure definition.
| Color Type | Visual Effect on Camera | Best Used For |
|---|---|---|
| Solid Dark Tones (Navy, Charcoal, Emerald) | Creates strong contrast, slims neck profile, draws eyes upward. | Indoor portraits, pale lighting environments. |
| Warm Earth Tones (Terracotta, Warm Brown, Cream) | Reflects warm light onto skin, softens hard facial angles. | Outdoor shots, natural sunlight settings. |
| High-Busy Patterns (Small checks, dense floral) | Creates visual noise, distracts sensor focus from features. | Best avoided for close-up portraits. |
Test It with a Score
When you adjust your lighting, step back from the lens, and relax your facial muscles, your physical appearance does not change—the quality of the visual data changes. Digital portrait analysis systems evaluate clarity, contrast, structural symmetry, lighting balance, and perceived facial age using photo cues.
You can observe this effect directly by testing photos before and after applying these techniques. Try taking a quick close-up selfie under direct ceiling lights, and then take a second photo using 2x zoom facing an open window with a relaxed exhale.
Upload both images to the attractiveness test and run them through the age calculator by photo tool.
Notice how the calculated outputs shift between the two images. Automated analysis tools rely heavily on edge sharpness, surface contrast, skin texture clarity, and dark circle depth. A photo taken with dark under-eye shadows and harsh direct flash will consistently yield different results than a image taken in soft, warm daylight with a clean jaw tilt.
That shift in score is proof of the central rule of photography: you are not unphotogenic; your lighting, angles, and facial relaxation simply dictate how the camera decodes your face.
Frequently Asked Questions
Why do I look attractive in the mirror but bad in photos?
A mirror presents a dynamic, 3D reflection in real-time, allowing your brain to adjust for lighting while viewing your image in reverse. A camera captures a 2D static frame, flattens depth, freezes temporary facial twitches, and often distorts features through close wide-angle lenses. Additionally, because you are used to seeing your face flipped in mirrors, non-mirrored photos look naturally "wrong" to your brain due to natural facial asymmetry.
Is being photogenic a real trait or just practice?
Being photogenic is almost entirely a learned skill set. People who appear naturally photogenic have usually developed subconscious habits: they automatically turn to their preferred angle, relax their mouth muscles, tilt their chin forward to clean their jawline, and seek out favorable light sources when a camera appears.
What is the single most flattering angle for portraits?
For most people, holding the camera slightly above eye level, turning the body 45 degrees away from the lens, and tilting the head slightly toward the higher shoulder creates the most flattering balance. This angle highlights the eyes, slims the jawline, and defines cheekbone contours without distorting facial proportions.
Do digital filters make you look more attractive in photos?
While basic smoothing filters alter skin texture and adjust color balance, heavy beauty filters often alter underlying facial geometry (shrinking jaws, widening eyes). This creates an uncanny valley effect where the image looks distinctly artificial. Mastering real-world light, camera distance, and posture creates a far more convincing, natural, and attractive portrait than digital overlays.
Front camera vs back camera: which is more accurate?
The back camera is significantly more accurate. Smartphone front cameras use short focal length wide-angle lenses designed to fit multiple people into a short arm's-length frame, which stretches central facial features. Back cameras feature higher-quality glass lenses, superior sensor dynamic range, and longer focal lengths that compress facial proportions accurately without stretching your nose or forehead. ---
Summary Checklist for your Next Photo
Before the camera shutter clicks, run through this quick physical reset:
- Find Light: Step toward a soft front light source like a window or shaded area; avoid harsh ceiling bulbs.
- Step Back: Move the camera 5 to 7 feet away and switch your camera app to 2x zoom.
- Set the Height: Elevate the camera lens to eye level or slightly above.
- Angled Stance: Turn your shoulders 45 degrees away from the lens, then turn your face back toward the lens.
- Jaw Action: Push your ears/forehead slightly forward and drop your chin down half an inch.
- Relax Facial Tissues: Inhale, exhale through your mouth, press your tongue against the roof of your teeth, and let your eyes soften naturally.