
Every face is a structural landscape of angles, planes, and curves. Mastering makeup for your face shape is less about altering your features and more about understanding spatial geometry. The exact placement of blush, highlight, and contour that endows one person with sculpted cheekbones can easily flatten, widen, or elongate another.
Generic beauty tutorials often promote a single standardized routine, usually designed for a classic oval ideal. When you apply those universal sweeping motions to a heart, diamond, or square structure, the results frequently feel off-balance. Real mastery relies on strategic contrast: using dark shades to push areas back and light shades to pull them forward, guided by your underlying bone structure.
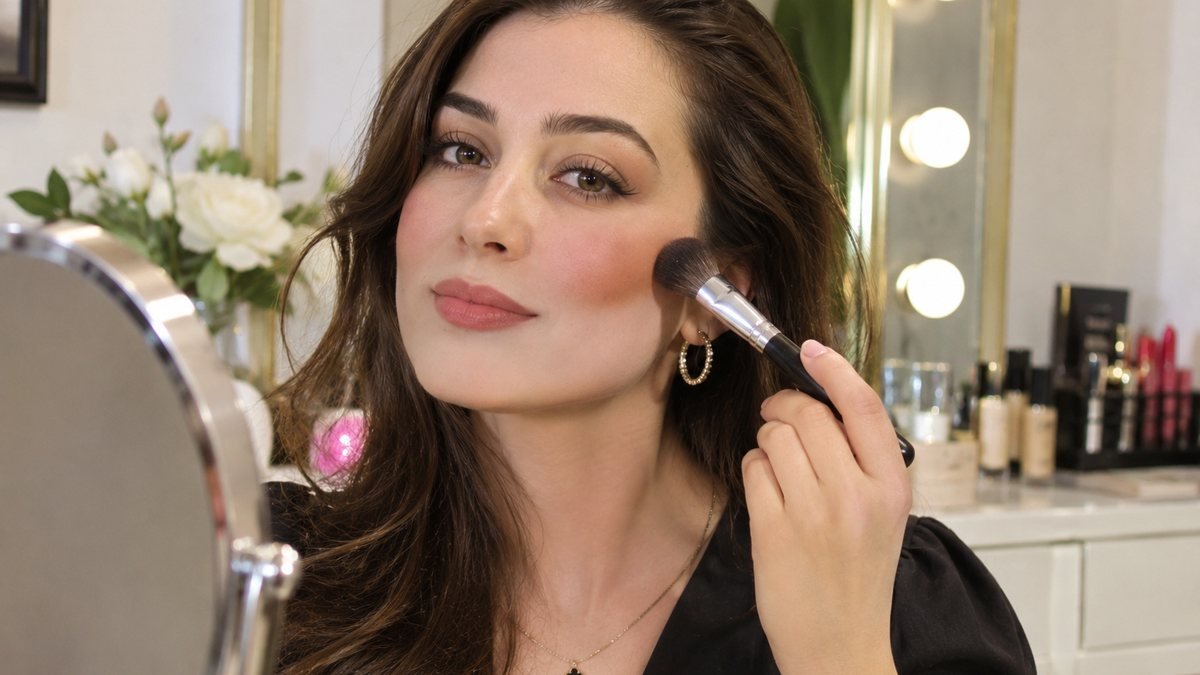
Before spending time perfecting your technique, you need an accurate picture of your structural baseline. If you are unsure of your exact facial proportions, upload a clear photo to the face shape detector to identify whether your frame is dominant in height, width, or angular points. Once you know your blueprint, you can apply makeup with absolute purpose.
The basic logic: light adds, shadow subtracts
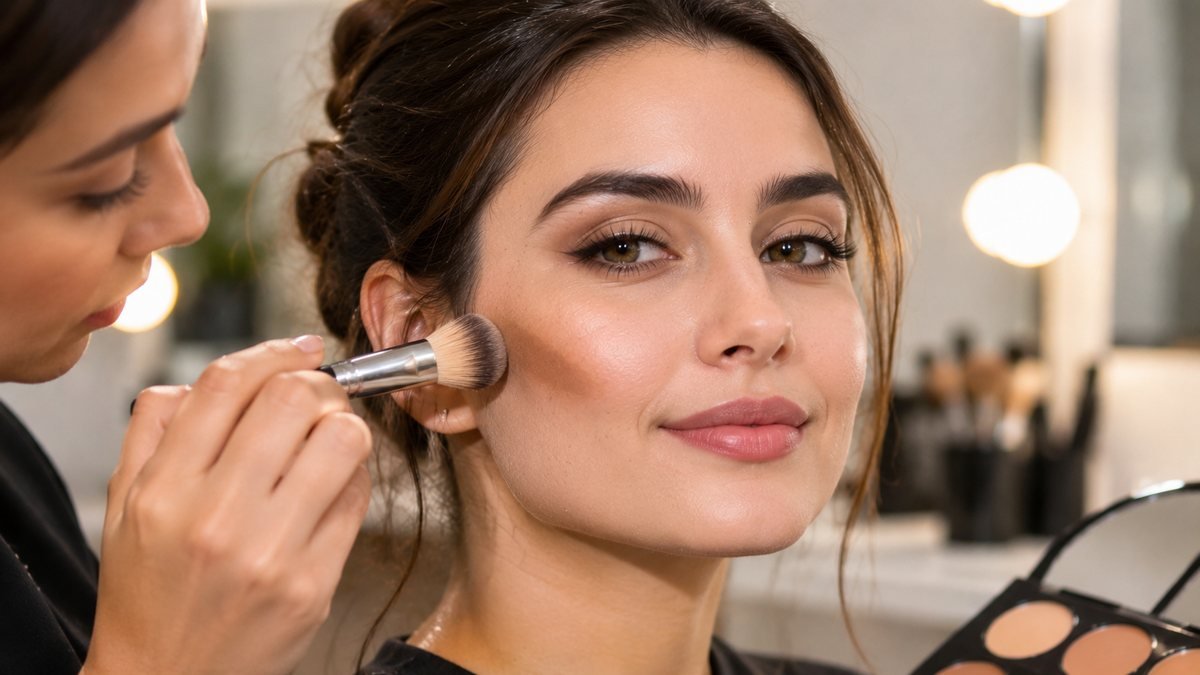
Before diving into individual face shapes, it helps to understand the physical mechanics of color placement on a three-dimensional surface. Cosmetics manipulate how light reflects off skin, effectively shifting how the eye perceives volume and depth.
- Contour (Shadow): Matte contour products should be one to two shades darker than your natural skin tone with a cool or neutral undertone. Shadows create receded planes. When you apply shadow under a cheekbone, around a wide jaw, or along a high forehead, light absorption makes those regions appear visually smaller, deeper, or further away. If you are learning how to contour your face shape, always remember that contour is meant to mimic natural bone depth, not create muddy streaks.
- Highlight (Luminosity): Highlighters—whether matte concealers one shade lighter than your skin or reflective shimmer products—draw light directly toward themselves. Applying light to a feature brings it forward, making narrow areas look fuller, flat areas look lifted, and shallow zones look more prominent.
- Blush (Warmth and Movement): Blush serves as the bridge between shadow and light. Beyond bringing healthy flush to the skin, blush placement by face shape dictates the visual center of gravity for your entire face. High placement pulls the face upward; outward placement adds horizontal breadth; central placement softens sharp geometry.
When these three elements work together in alignment with your bone structure, makeup looks integrated rather than painted on.
Makeup for an Oval Face Shape
Structural Profile
An oval face shape features a soft curve where the forehead is slightly wider than the chin, with balanced proportions throughout. The cheekbones are typically the widest point, tapering gently down to a rounded jawline. Because an oval canvas has no extreme sharp angles or dominant wide zones, the goal is simply enhancing natural symmetry without over-correcting.
Where to Contour
Keep contouring light and focused on definition rather than reshaping. Sweep a neutral contour shade directly under the cheekbones, starting at the tragus (the small cartilage flap near the ear canal) and stopping beneath the outer corner of the eye. Avoid bringing the contour too close to the mouth, which can drag the face down unnecessarily. If your forehead is slightly elongated, sweep a soft wash of contour along the top hairline.
Where to Highlight
Focus highlight on the central vertical axis of the face to maintain crisp symmetry. Place light on the middle of the forehead, down the bridge of the nose, on the cupid’s bow, and across the top of the cheekbones. Because the oval shape already possesses balanced height and width, avoid extending highlight too far outward toward the temples.
Blush Placement and Direction
Apply blush directly to the high apples of the cheeks, blending upward and backward along the cheekbone toward the top of the ear. A 45-degree angled blending motion preserves your natural dimensions while lifting the center of the face.
Brow Note
Softly arched eyebrows with a smooth curve maintain the fluid balance of an oval frame. Avoid exaggerated high arches or completely flat brows.
Makeup for a Round Face Shape

Structural Profile
A round face shape has roughly equal measurements in length and width, characterized by full cheeks, a soft rounded jawline, and a curved hairline. The goal of makeup application here is to create structure, add vertical illusion, and sharpen the visual boundaries.
Where to Contour
Executing an effective contour for round face structure requires strategic shading around the outer perimeter. Apply contour along the temples, the sides of the forehead, and underneath the jawbone to visually slim the sides. For the cheeks, start near the ear and cut inward along the hollows, aiming toward the corners of the mouth but stopping at the outer iris. Angle this cheek line more steeply downward to visually stretch the face vertically.
Where to Highlight
Pull attention inward toward the vertical center. Highlight the center of your forehead, the center of your chin, and the bridge of your nose. Bring the cheek highlight high onto the cheekbones, extending it up toward the outer eye corners to create sharp, elevated focal points that break up rounded curves.
Blush Placement and Direction
Place blush slightly higher on the cheekbones than usual, avoiding the fleshy apples near the nose. Blend the blush upward in a steep diagonal sweep toward the hairline near the temples. This diagonal lift creates the visual illusion of sculpted, higher cheekbones while reducing central fullness.
Brow Note
High, structured arches with clear angular peaks add much-needed geometric definition to a rounded silhouette.
Makeup for a Square Face Shape
Structural Profile
A square face shape features equal width across the forehead, cheekbones, and jawline, anchored by a strong, angular jaw and a square hairline. The objective is to soften hard corners, diffuse sharp outer angles, and bring warmth to the center of the face.
Where to Contour
Mastering contour for square face shapes means targeting the outer four corners of the face. Sweep contour shade onto the upper left and right corners of the forehead along the hairline to round out the hairline. Next, apply contour directly onto the sharp outer corners of the jawbone, blending downward onto the neck to soften boxiness. For cheekbones, place contour slightly higher than the actual hollows, keeping it soft and thoroughly diffused.
Where to Highlight
Bring light to the focal center to pull the eye away from broad corners. Apply highlight down the middle of the forehead, on the center of the chin, and along the highest ridge of the cheekbones. Keep chin highlight focused in a small circle rather than a wide band to avoid widening the lower face.
Blush Placement and Direction
Focus blush directly on the apples of the cheeks in soft, swirling motions. Blending blush slightly outward toward the ears—rather than in a sharp diagonal upward line—diffuses sharp jawlines and introduces rounded balance to the overall frame.
Brow Note
Softly rounded brows with a moderate arch help counteract heavy angularity in the jaw and forehead.
Makeup for a Heart Face Shape
Structural Profile
A heart-shaped face is wide at the forehead and temples, tapering down through high cheekbones to a narrow, pointed chin. The main goal is to reduce the visual width of the upper third of the face while adding soft width to the narrow lower third.
Where to Contour
Apply contour along the sides of the forehead and upper temples to reduce top-heavy width. Contour under the cheekbones as well, but start at the ears and stop precisely below the outer edge of the eyes to keep from pulling the face inward toward an already narrow chin. If your chin is sharp, add a small touch of contour directly to its bottom tip to visually soften its point.
Where to Highlight
Highlight areas that need visual expanding, specifically the lower half of the face. Apply light along the sides of the jawline, between the mouth corners and the angle of the jaw, to add perceived fullness to the narrow chin area. Also highlight the center of the forehead and the bridge of the nose.
Blush Placement and Direction
Apply blush to the lower part of the cheekbones, starting just below the apples and sweeping horizontally outward toward the hair. Keeping blush lower and flatter prevents the top half of the face from looking top-heavy while maintaining a soft, natural look.
Brow Note
Low, softly curved brows without steep peaks keep the upper forehead from looking disproportionately wide.
Makeup for a Diamond Face Shape
Structural Profile
A diamond face shape features high, prominent cheekbones as its widest point, paired with a narrow forehead and a narrow, pointed jawline. The objective is to balance the wide center by adding visual breadth to the top and bottom while softening cheek peak width.
Where to Contour
Be careful with cheek contouring; heavy hollow shading will make diamond faces look overly gaunt. Instead, apply a small amount of contour shade directly onto the widest prominent points of the cheekbones to soften extreme lateral width. Add a light dusting of contour to the point of the chin if it feels overly sharp. Leave the narrow forehead and jawline completely shadow-free.
Where to Highlight
Use highlight to open up the narrow zones. Apply light broadly across the center of the forehead and along the sides of the jawline. Bring highlight under the eyes in an inverted triangle shape to fill out the narrow mid-face area, creating a smoother transition from cheeks to chin.
Blush Placement and Direction
Place blush directly on the apples of the cheeks. Avoid sweeping blush high onto the temple peaks, as this accentuates cheekbone width. Instead, blend horizontally outward toward the ears, staying beneath the prominent high points of the bone.
Brow Note
Medium-thick brows with a curved, rounded arch pull focus inward, drawing attention away from wide cheek points.
Makeup for an Oblong Face Shape
Structural Profile
An oblong (or long) face shape is noticeably longer than it is wide, often featuring a high forehead, straight long cheek lines, and an elongated jaw. The primary goal of makeup application here is to create horizontal width and visually shorten overall length.
Where to Contour
Apply deep contour across the very top of the forehead along the hairline to lower the visual height of the upper face. Sweep contour across the bottom of the chin to cut vertical length. Keep cheek contour very subtle and strictly horizontal; avoid steep diagonal hollow lines, which make long faces appear even narrower.
Where to Highlight
Keep highlight concentrated laterally. Apply highlight across the highest part of the cheekbones, extending it wide toward the temples. Avoid highlighting the vertical center line (top of forehead, tip of nose, point of chin), as vertical light highlights length.
Blush Placement and Direction
Blush is critical for oblong faces. Apply blush directly to the center of the cheeks and sweep it straight horizontally toward the ears. This creates a strong horizontal line across the face, breaking up vertical length and adding healthy width.
Brow Note
Flat, straight eyebrows with minimal arch break up the vertical span of the face, adding horizontal balance.
At-a-Glance Placement Guide
| Face Shape | Primary Contour Focus | Primary Highlight Focus | Blush Direction | Brow Shape |
|---|---|---|---|---|
| Oval | Under cheekbones (light) | Center line & high cheeks | 45-degree angle to temples | Soft, natural arch |
| Round | Temples, jawline & steep cheek hollows | Center forehead, nose, chin tip | Steep diagonal upward | High, angular arch |
| Square | Four corners: forehead edges & jaw corners | Center forehead, top of cheekbones | Swirled on apples, soft blend | Soft, rounded arch |
| Heart | Upper temples & tip of chin | Sides of jawline & center forehead | Horizontal beneath cheek peak | Low, soft curve |
| Diamond | Prominent cheek peaks (light) | Center forehead & sides of jaw | Apples, blended flat outward | Curved with soft peak |
| Oblong | Top of hairline & bottom of chin | High cheekbones, wide sweep | Straight horizontal to ears | Flat, straight line |
Five mistakes that ignore face shape
Even high-end products and perfect color matches can yield disappointing results if your placement fights your natural bone structure. Avoid these five common placement errors:
1. Dragging blush too low on an oblong face
When blush drops below the nostril line on a long face, it pulls the entire mid-face downward. This elongates the cheeks, creating a tired appearance. Always keep blush above the bottom of the nose line.
2. Carving deep cheek hollows on a diamond face
Diamond shapes already have striking, wide cheekbones with hollow spaces underneath. Painting intense dark lines directly into those hollows exaggerates cheek bone protrusion, making the face look gaunt rather than sculpted.
3. Highlighting the outer jawline on a square face
Shimmer or bright concealers on the outer corners of a square jaw emphasize broadness. Keep highlighters strictly on the center point of the chin, leaving jaw corners to matte contour or natural skin tones.
4. Swirling circular apple blush on a round face
Applying blush in concentrated circles right on the apples of a round face highlights central fullness, making the face look wider and shorter. Round frames require upward sweeping blending strokes for length.
5. Over-contouring the hairline on a low forehead
If your forehead is naturally short or small, sweeping contour along the hairline cuts off vertical height, making your features feel cramped. Save top hairline contouring strictly for high, broad foreheads.
Makeup and Face Shape FAQs
Do I really need to contour based on my face shape?
No, makeup is ultimately a matter of personal style and preference. However, tailoring placement to your bone structure ensures your makeup works with your features rather than against them. Knowing your face shape gives you a predictable framework to highlight your best angles and soften areas you want to de-emphasize.
What if I am between two face shapes?
Most human faces are a combination of traits. For instance, you might have a square jawline paired with a high heart-shaped forehead, or a round face with angular cheekbones. When you fall between two categories, simply split the techniques: apply jawline rules meant for square faces and upper-face rules meant for heart shapes.
Does this placement logic apply to men's grooming and minimal makeup?
Yes. The principles of light and shadow apply to all faces regardless of gender or product choice. Men can use neutral bronzers, subtle cream contours, or beard sculpting to adjust facial dimensions. For example, trimming a beard into an angular point elongates a round face, while keeping beard hair fuller on the sides adds width to an oblong face.
Can makeup actually change my face shape?
Cosmetics change how light reflects off your skin; they do not alter actual muscle, fat, or bone structure. Makeup creates optical illusions of depth and volume. Realizing this keeps your expectations grounded and helps you use shadow and light efficiently.
Where should a complete beginner start?
Start with blush placement alone. Mastering where you apply blush is the fastest, lowest-risk way to adjust facial harmony. Once you are comfortable using blush to lift or widen your face, introduce a subtle matte highlighter, and finally add contour once you understand your bone landmarks. ---
Finding Your Structural Framework
Understanding facial structure transforms makeup application from random experimentation into a clear, repeatable process. Once you stop fighting your natural geometry, application becomes faster, cleaner, and far more flattering.
If you want a neutral starting point before adjusting your daily makeup routine, try using the photo-based face shape detector. Determining your exact structural category gives you the blueprint you need to place every sweep of blush, contour, and highlight with confidence.