
Eyebrows frame the face, balance your features, and communicate emotion before you speak a single word. When asking where should eyebrows start and end, most people are trying to correct a subtle imbalance in their everyday look. Shifting a brow’s starting point or tail by just a couple of millimeters can completely alter your expression, taking you from stern or tired to open, refreshed, and well-rested.
Because everyone’s bone structure is distinct, there is no single stencil that works for every face. An arch that flatters a round face may look overly harsh on a long or angular face. This is why professional makeup artists do not rely on guesses or trend stencils to shape brows.
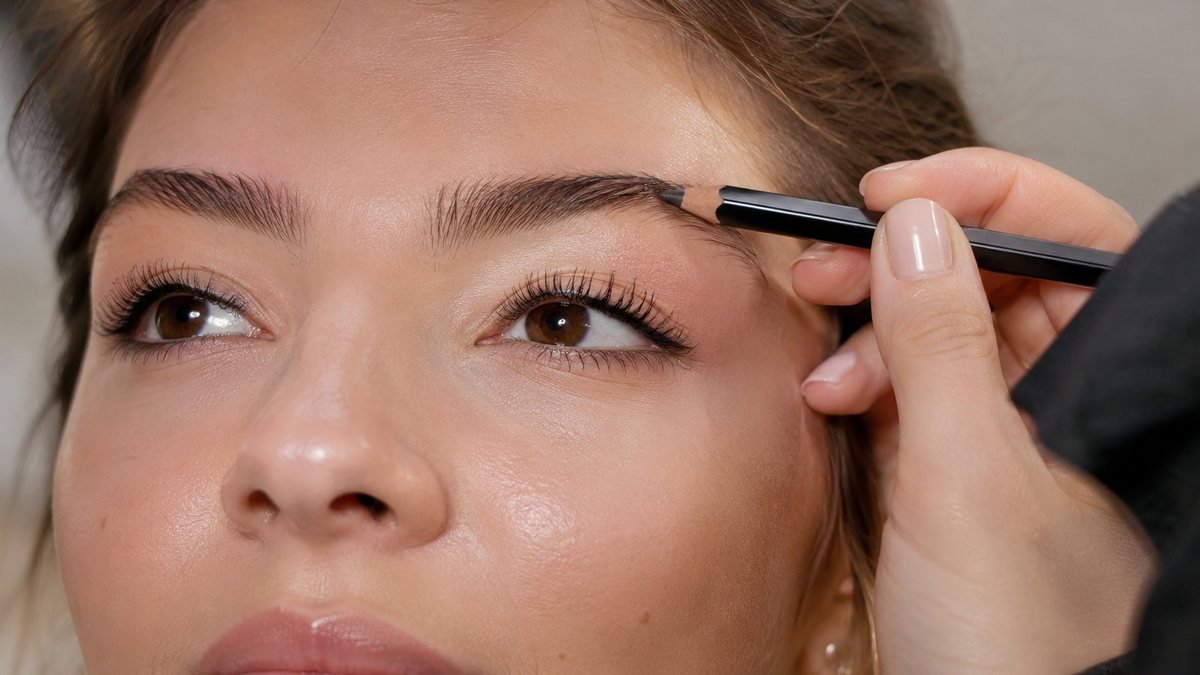
Instead, professionals rely on a classic technique known as eyebrow mapping. By using your own nasal bridge and eye corners as structural anchors, this traditional method reveals your natural baseline proportions. Here is how the three-line mapping method works, how to measure eyebrows at home, and how to adapt the guidelines to fit your unique feature set.
The Three Lines: Start, Arch, Tail

The foundational rule of traditional eyebrow mapping relies on three imaginary guide lines originating from the nose. These lines pinpoint the three crucial landmarks of any brow: the head (start), the arch (highest point), and the tail (end).
Understanding the relationship between the eyebrow start, arch, and tail gives you complete control over your brow proportions.
Point 1: The Start (Inner Corner)
To find where your eyebrow should begin, place a straight edge—such as a thin makeup brush handle or pencil—vertically along the side of your nose. Align the tool so it runs straight up from the outer edge of your nostril (or the corner where your nose wing meets your cheek) past the inner corner of your eye.
Where this vertical line intersects your brow bone is where the head of your brow should ideally start.
- If brows start too far apart: The bridge of your nose appears wider, and your eyes can look unnecessarily far apart.
- If brows start too close together: Your eyes may appear close-set, and your overall expression can look slightly tense or stern.
Point 2: The Arch (The Peak)
The arch gives your face lift and structure. To locate the natural peak of your arch, keep the base of your straight edge against the outer edge of your nostril. Pivot the top of the tool diagonally so it crosses directly through the center of your pupil while looking straight ahead in a mirror.
(Note: Some makeup artists align the diagonal line with the outer edge of the iris rather than the pupil center. Both methods work well; passing through the pupil creates a slightly more centered arch, while passing the outer iris creates a slightly wider, modern arch.)
Where the pencil crosses your brow tissue at this diagonal angle marks the highest point of your top brow line. This peak should gently curve down toward both the start and the tail, acting as the structural anchor of your brow.
Point 3: The Tail (Outer End)
To find where your brow should end, keep the base of your tool against the outer wing of your nostril and pivot the top diagonally toward the outer corner of your eye.
The spot where your pencil intersects your outer brow bone indicates your ideal end point.
An essential rule of thumb regarding the tail: the tip of your tail should never drop lower than the horizontal baseline of your brow's start. If the tail extends too low, it creates a downward visual drag, making the eyelids look heavy or sad.
How to Map Your Own Brows at Home
Mapping your brows at home requires only a few basic tools and a bit of patience. Mapping allows you to visualize your ideal shape before removing a single hair or applying permanent makeup.
1. Gather Your Tools
- A thin straight edge: A long makeup brush handle, an brow pencil, or a straight ruler.
- A light-colored eye pencil: A soft nude or white eye pencil works best for marking guide dots on your skin.
- A clear, flat mirror: Use a standard wall or stand mirror placed at eye level. Avoid close-up magnifying mirrors during the initial alignment phase, as they distort your overall face perspective.
- Good, direct lighting: Natural daylight facing a window or balanced frontal vanity lighting is ideal. Side lighting creates shadows that lead to uneven marks.
2. Step-by-Step Home Mapping Procedure
- Prep your canvas: Clean your face and brush your eyebrow hairs upward and outward with a clean spoolie brush to reveal your natural brow shape.
- Mark the Start: Place your straight edge vertically against the edge of your nostril. Use your light makeup pencil to draw a faint vertical mark where the tool crosses your brow bone on both eyes.
- Mark the Arch: Pivot your tool from the nostril past the center of your pupil (or outer iris edge). Place a small dot along the upper border of your brow at this line.
- Mark the Tail: Pivot the tool further to touch the outer corner of your eye. Place a dot where the line crosses your temple bone.
- Connect the Dots: Outline your desired shape by drawing a soft bottom border connecting the start to the underside of your arch, then sloping smoothly to the tail point. Repeat for the top line.
- Evaluate symmetry: Step back two feet from the mirror to view both brows together within the context of your entire face.
3. Shaping Guidelines: Mark First, Groom Second
Once your map is complete, treat the drawn outline as a protective barrier.
- Pluck or trim only hairs that fall completely outside your pencil boundary.
- Do not remove hairs within the body of your mapped shape during routine maintenance.
- If a hair sits directly on your mapped boundary line, leave it intact until you finish grooming the outer areas; you can always remove it later if necessary.
Why the Classic Map Is a Guide, Not a Law
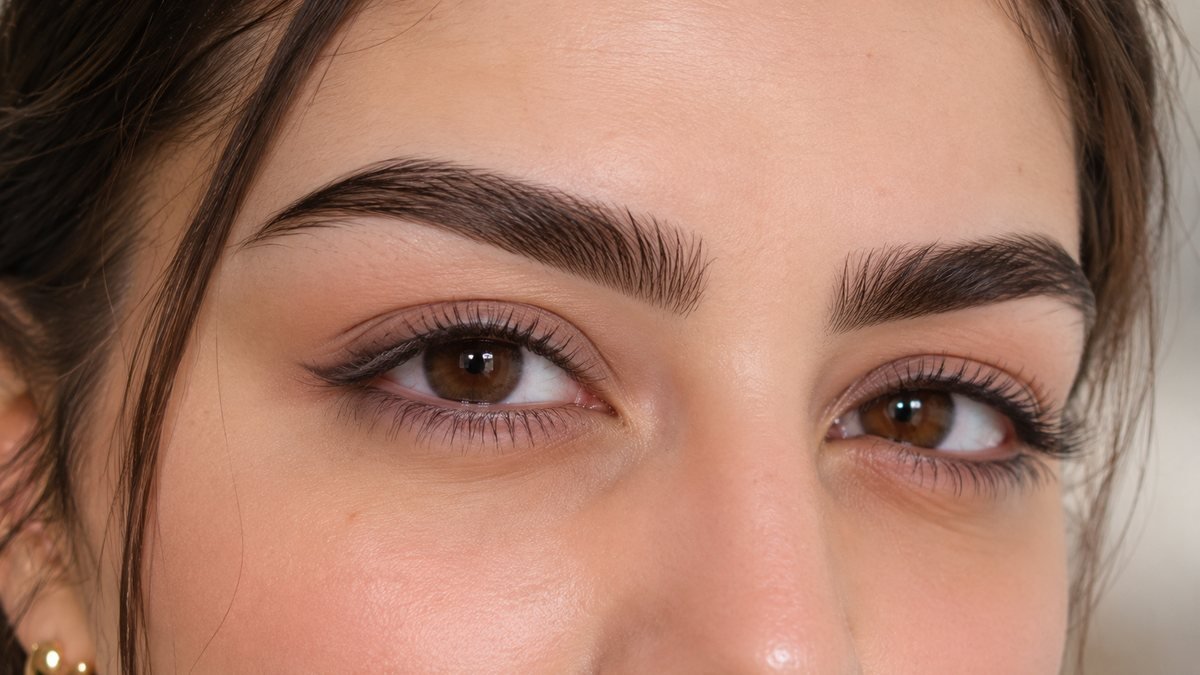
While the classic three-point system provides reliable baseline proportions, human faces are not built with mathematical perfection. Bone structures, facial widths, and eye positions differ significantly from person to person. Treat classic eyebrow mapping as a helpful starting framework rather than an inflexible rule.
Adjusting for Eye Spacing
- Close-set eyes: If your eyes are positioned closer together than the width of one eye, starting your brows slightly outward—just a millimeter past the inner corner line—can visually widen your eye area.
- Wide-set eyes: If your eyes are spaced further apart, bringing the inner heads of your brows slightly inward (closer to the center of your nasal bridge) balances the space between your eyes.
Embracing Natural Facial Asymmetry
It is completely normal for your brow bones, eye sockets, and facial muscles to differ slightly from left to right. One brow arch may naturally sit higher, or one side of your forehead may move more actively when you speak.
A common phrase among beauty professionals applies here: "Brows are sisters, not twins." Forcing strict left-right symmetry often leads to over-tweezing. Aim for visual balance across your face rather than an identical mirror copy on both sides.
Trend Variations vs. Timeless Proportions
Eyebrow trends shift over time. Dramatic 1990s thin arches gave way to dense, straight, horizontal brows in the 2010s, followed by softer, brushed-up textures today.
The classic mapping points adapt easily to different aesthetic styles. A soft, straight brow still respects the classic start and tail boundaries; it simply features a subtle, low arch peak. A high-glam arch uses the same points but places the peak slightly higher for extra dramatic lift.
Common Mistakes to Avoid When Mapping Eyebrows
Even with a reliable guideline, common shaping errors can alter your facial balance. Keeping these frequent pitfalls in mind will protect your natural hair pattern.
1. Over-Tweezing the Inner Corners
The most frequent mistake is plucking too far past the inner corner line. People often try to clear stray hairs between the brows and accidentally remove structural hair from the brow head. This creates a wide gap, making the nose appear broader and disturbing overall feature harmony.
2. Allowing the Tail to Drop Too Low
When filling in brows or extending short tails, it is easy to drag the pencil downward along the curve of the outer temple. Extending the tail past the horizontal plane of the brow start pulls down the outer corners of your eyes, creating a tired appearance.
3. Misplacing the Peak
Placing the arch directly in the exact center of the brow—halfway between the start and tail—creates a rounded curve that lacks modern lift. The arch peak belongs roughly two-thirds of the way out toward the temple, lined up past the pupil or iris edge.
4. Ignoring Your Natural Face Shape
Copying a celebrity's eyebrow shape without taking your underlying bone structure into account often leads to unbalanced results. Brow shapes interact directly with overall facial dimensions:
- Round faces: Benefit from medium-to-high arches with defined angled points to create vertical length.
- Square faces: Look best with soft, curved arches that smooth angular jawlines.
- Heart faces: Pair well with low, soft arches that do not overwhelm a narrow chin.
- Long faces: Flattered by flatter, horizontally oriented brows that add visual width.
- Oval faces: Harmonize with a classic, balanced arch mapping.
If you are unsure of your baseline geometry, using an online visual analysis tool like a face shape detector can help you pinpoint your primary face structure before fine-tuning your brow layout.
Eyebrow Mapping FAQs
Should eyebrows start above the inner eye corner or the nose?
The classic benchmark aligns the brow start vertically with the outer edge of your nostril wing, which typically lines up near the tear duct or inner eye corner. Aligning with the nostril edge ensures your brow starting point remains balanced with both your nose bridge and your eyes.
What if my brows are naturally asymmetrical?
Focus on matching the height of your arches and the baseline level of your starts rather than making the individual hair patterns identical. Use light pencil strokes to fill sparse spots on the lower brow, bringing both sides into visual harmony without over-plucking your fuller side.
How long should the tail be?
Your brow tail should end along the diagonal line extending from your nostril wing past the outer corner of your eye. Ensure the tail tapered point stays at or slightly above the horizontal level of your inner brow head.
Does the golden ratio decide perfect eyebrow proportions?
The golden ratio (approximately 1:1.618) is a long-standing mathematical design principle used across architecture and art. While classic brow mapping incorporates similar structural proportions (placing the arch roughly 61.8% along the length of the brow), it is one reference tool among many—not an absolute law for face aesthetics.
Can I map brows without any tools?
You can estimate your map visually using your fingers or sightlines, but using a physical straight edge (like an eye pencil handle) gives far more precise results. A tool removes visual guesswork when aligning your nostril edge, pupil center, and outer eye corner. ---
Finding Your Balanced Look
Learning where eyebrows should start and end removes the guesswork from daily beauty and grooming routines. By using your own nasal structure and eye corners as built-in guideposts, eyebrow mapping delivers customized proportions tailored specifically to your face shape.
Keep your adjustments subtle, work with your natural hair pattern, and remember that classic guidelines exist to highlight your natural bone structure—not replace it. With a simple pencil line map, achieving clean, well-proportioned eyebrows at home is straightforward and dependable.